Hand Tool Techniques Part 1 Plane Sharpening with David Charlesworth
Pretty much same / very similar information in his article "A User's Guide To Waterstones" FWW 0169 pdfp 31
(reviewed PWW 2004-06 pdfp14 p24)
14:29 he is using 1000 grit norton stone = gray to rub against 800 grit king stone to make a slurry
his 800 grit "coarse" king brand stone is red in the video 43:36
his 8000 grit "super fine" king brand stone is whiteish 43:36
- 2:28 need 3 things: razor sharp blade, chip breaker front edge in good condition (otherwised chips clog), flatness of sole
- 3:40 keeping water stones flat
- he uses king brand 800 "coarse"
1200 grit "medium"
8000 grit "super fine" (~3 micron particles) nagura
- he also like norton 1000 grit "coarse" 4000 grit "medium" 8000 grit "super fine"
- 14:50 norton cost more but harder matrix so they don't hollow as quickly
- oil stones and arkansas stones work fine but cut slowly
- diamond stones work but super fine are not nearly as fine as
8000 grit water stone
- ceramic stones he has issue with flatness but they do give
superb polish
- 8:05 800 grit he keeps in water and fixes to holder with folding wedges (see PWW Feb 2002 p 24 for folding wedges with groove with spline to keep aligned) he likes water stones because matrix breaks down and exposes fresh aluminum oxide particles so they cut quickly but downside is that they hollow quicly too so it requires very frequent flattening
- 10:05 make pencil grid and flatten with diamond stone
- 11:11 float glass with 180 220 or 240 wet dry paper. must be 10mm or 12mm float glass that was manufactured by floating on molten tin
11:58 break back of paper
hold down with water; ok if one edge of stone goes off paper
13:50 do edges at 45 degrees; rinse stone and feel to make sure no
- 14:50 if you rub 2 similar grade stone together it will cut faster
- 15:13 Preparing the Back of Your Blade
- 16:40 only concern is about the 1/4"
closest to the edge
- 17:09 overhang blade 1/4" past stone edge
big
downward left thumb pressure in the middle of the blade just behind the bevel, right hand thumb and index finger at corners
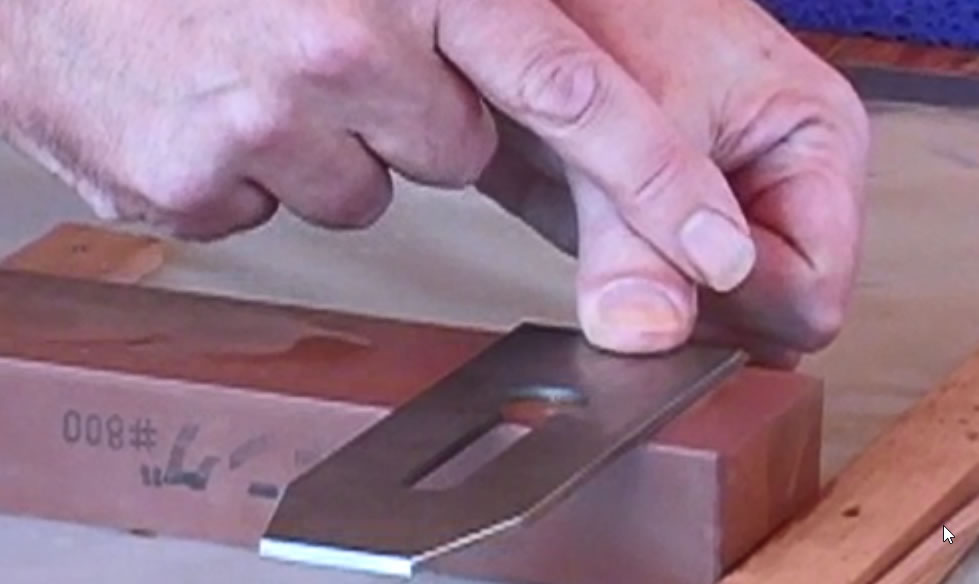
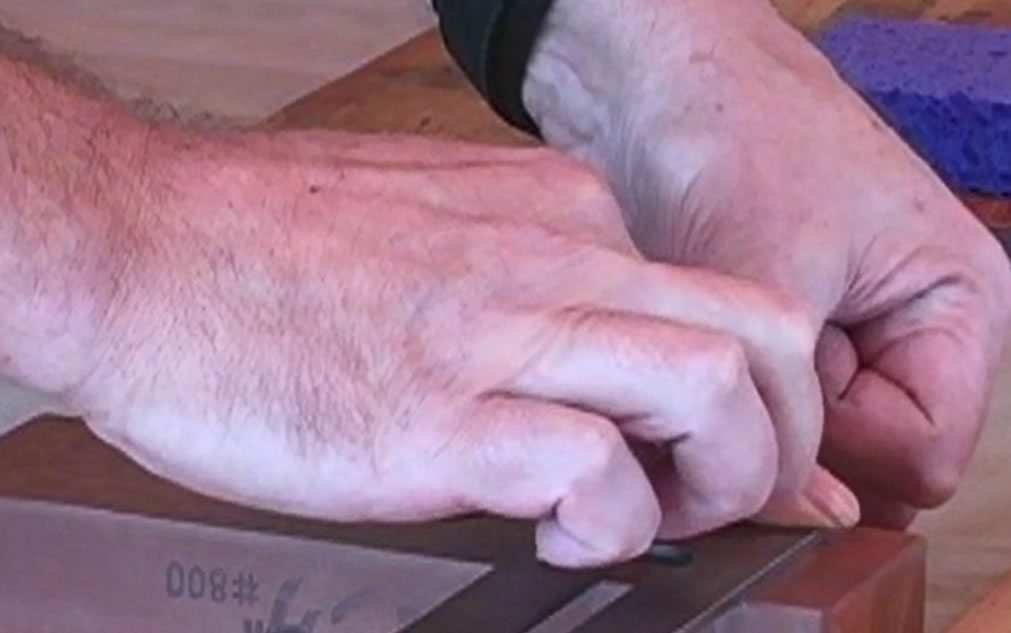
- 17:40 allow to drift 1/3 across the surface of the stone, then back to 1/4" off which overcomes tendency of the stone to hollow
do 50 strokes back and forth
keep edge off the stone about 50% of the time
- 19:20 examine scratches, rotate stone 180 degrees and do another 50 strokes back and forth
- 20:40 modern A2 steel blades with cryogenic treament last about 5x longer between sharpening than old carbon steel blades
- 21:20 dry blade, examine wear on stone when flatten every 4 or 5 minutes
- 24:05 movement 2 checks for belly or bump across the width
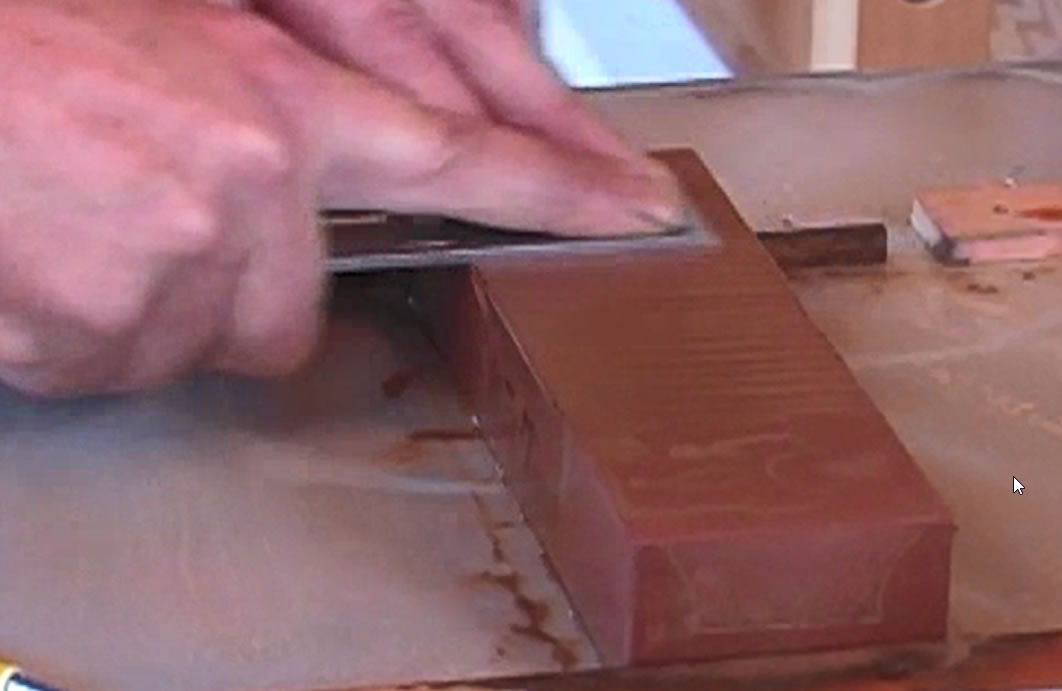
- start at same location as movement 1 with 1/4" overhang
- make the motion across the width of the stone
until at 1/3 across stone
- drift down the length of the stone then back to top
- rotate stone 180 degrees and repeat
- 27:10 if there were a belly in the width one could see lengthwise scratches only in the middle
- would have happened because went to long with movement 1
- if that is the case, reflatten stone and do movement 2 again
- 27:59 Ruler Trick
don't use with chisels
- go directly to 8000
grit stone (though 6000 or 4000 would work too)
use nagura to make
slurry but not to sloppy
take ruler about 0.5mm thick and stick down into slurry so surface tension holds it
- three finger points of pressure
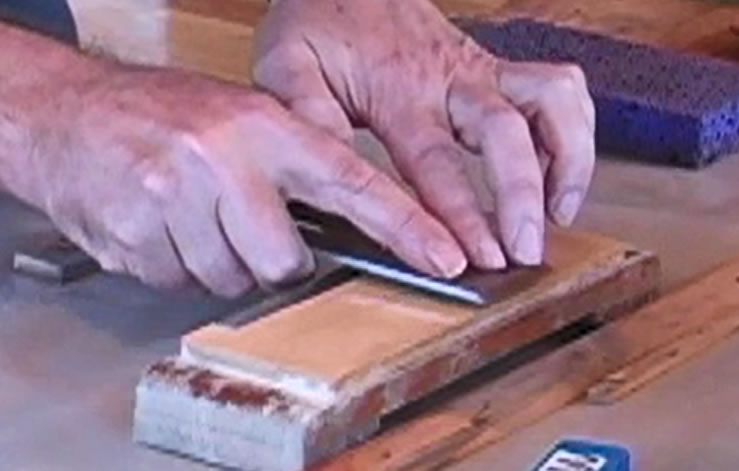
edge very slightly off stone, bring it onto stone about 5/8" with gentle pressure
20 to 30 back and forth strokes for new blade
- 31:29 Honing the Bevel
- 32:48
he uses 23 degree grind (25 is more typically used)
33 degree 800 grit coarse stone (about 3 degrees more than typically used)
35 degrees 8000 grit super fine polish
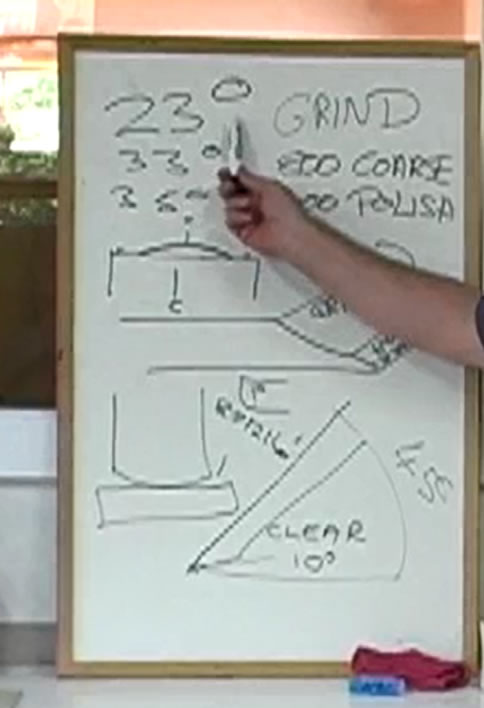
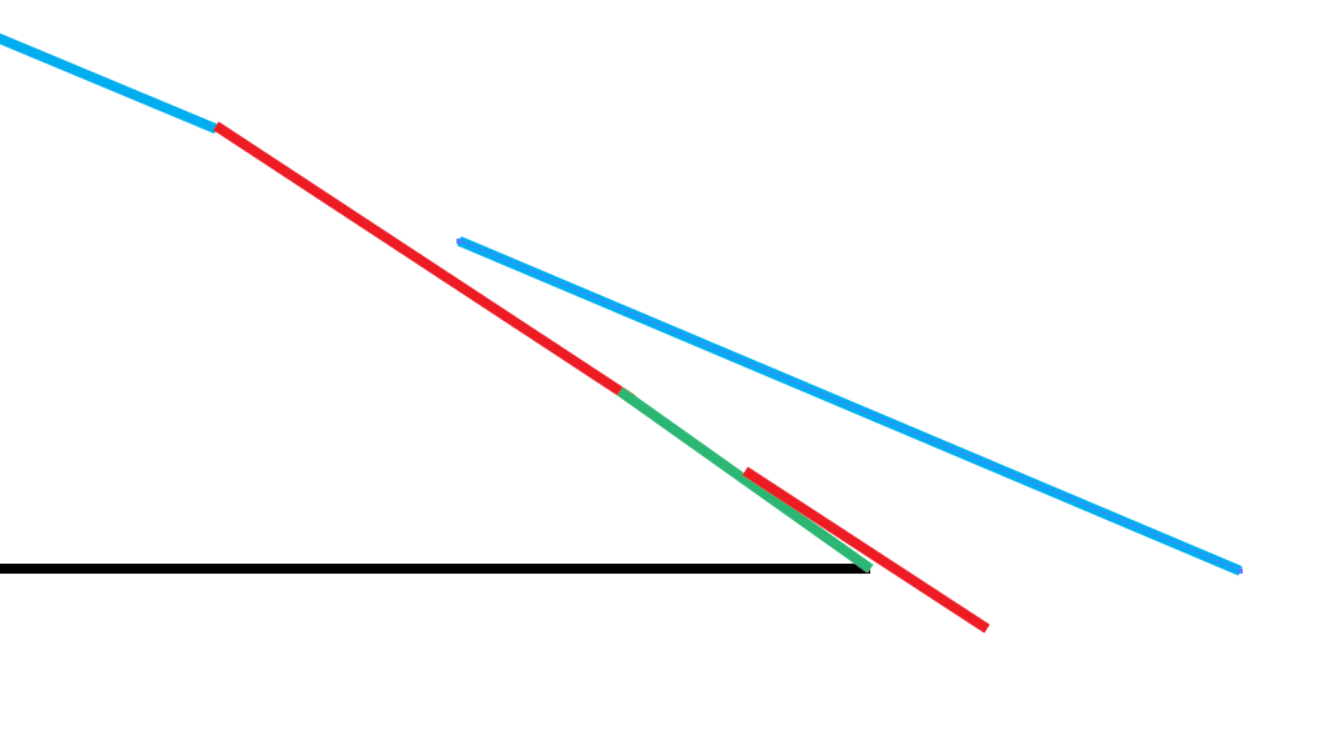
- 33:38 should get about 7 sharpenings before primary bevel must be reground because it is taking too long to get wire edge (burr) with 800 grit
regrind to 23 degrees but stop short of the edge to preserve square
and extend life ot the blade. only reason to go to edge is to get rid of a chip
- 34:57 with planes he doesn't measure projection, he just looks at it against measured angles then when figured out he scribes them into the blade though he doesn't explain his recording system (maybe mm projection?)
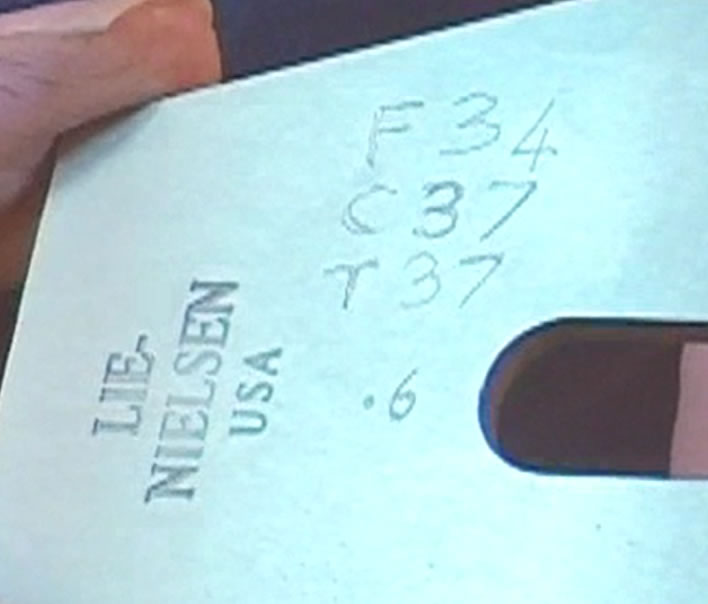
- 800 grit king or 1000 grit norton using even pressure with 4 fingers draw the blade in the honing guide towards yourself (pushing can sometimes push a corner into the stone and gouging it)
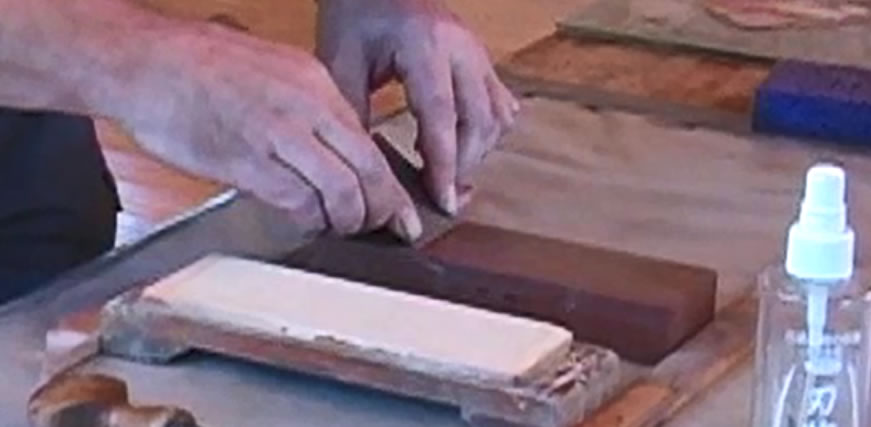
after 3 strokes feel for a wire edge with finger tip pad down the flat and over the edge
needs to be continuous across entire edge
- 36:34 now shorten projection, clean wheel and blade, spray 8000 grit stone with water, use nagura to make slurry 35 degrees
"caress" the stone with light pressure and make 3 pull only strokes
- 38:08 repeat ruler trick on 8000 grit; use nagura again but don't get it too sloppy or the ruler won't stick
remove blade from guide
stick ruler down make sure top is dry
first 3 strokes draw towards center of stone
only (lift rather than push back to starting point) to ease the wire burr out
- 39:17 10 or 15 movement 2 strokes back and forth from just off edge to 5/8" on stone
- 39:54 should see wire edge fall of or run the blade across a damp sponge and it will come off
no need for further stropping
dry the blade, give it a wipe of oil
- 40:30 preparing a curved blade
DON'T USE THIS ON RABBET PLANES (AKA REBATE PLANES), SHOULDER PLANES, "POSSIBLY" SHOOTING PLANES
aka cambered edge or radiussed edge
- 41:57 1) prevents tracks 2) helps to prepare a square edge because can never be sure you are holding your plane perfectly horizontal
- 43:30 800 grit coarse and super fine 8000 grit
prepare card stock 1/2" wide by length of stone by about 0.2mm (~.008") thicknes
33 degrees for hardwoods
darken edge of blade with sharpie
with 1 strip on left side of stone, put edge of blade on strip, apply pressure to right corner and make 8 pull only strokes
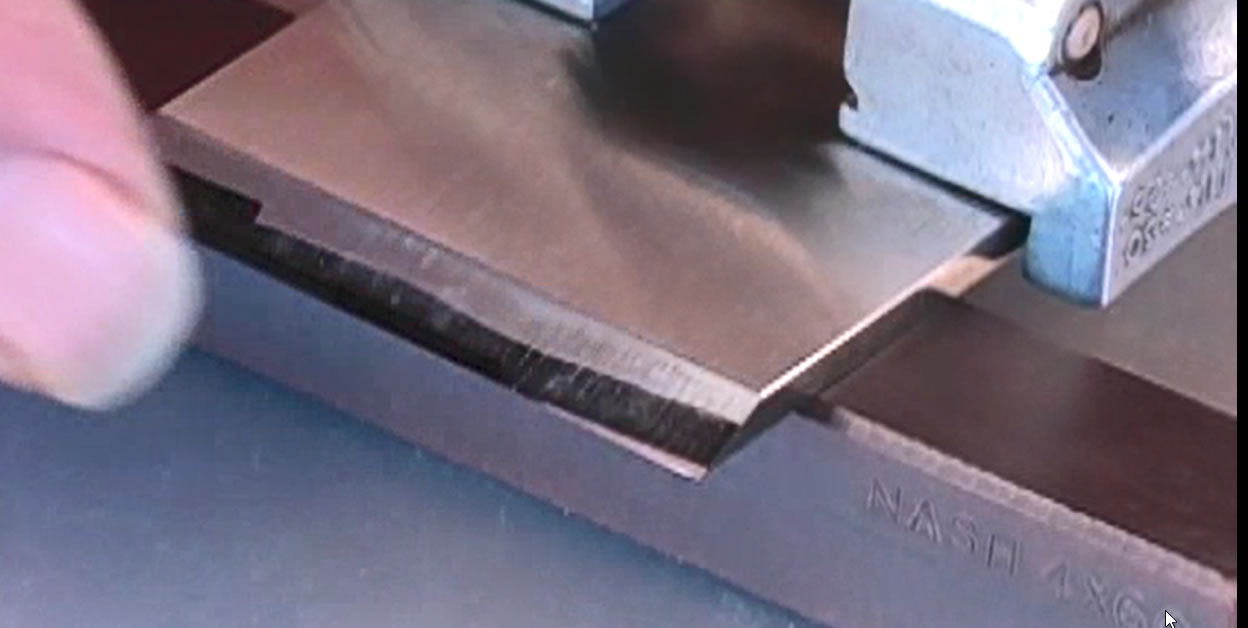
- 45:56 move card to other side and repeat
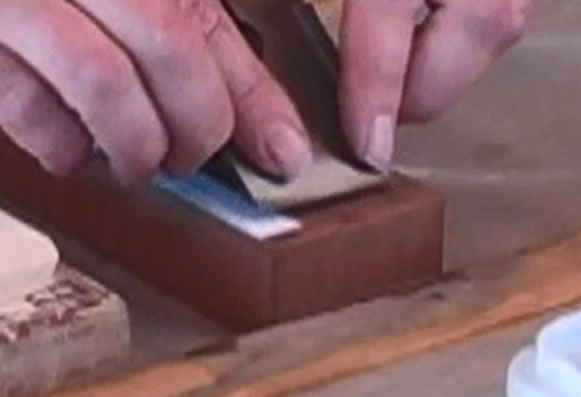
use same pressure and number of strokes as symmetry
is the goal
- 46:45 narrow wheel benefits
47:50 stokes with all pressure at each position across the width:
4 left edge
2 halfway between left edge and center
0 at center
2 at halfway between center and right edge (pictured below)
4 at right edge
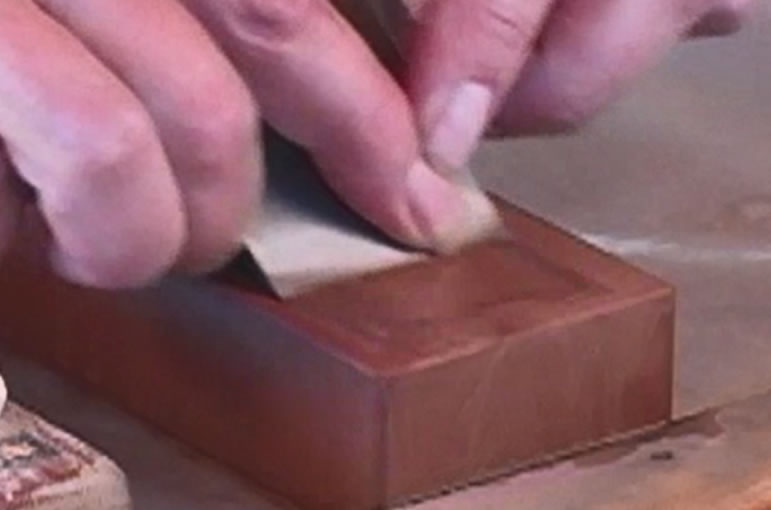
- 48:25 clean blade and ease wire edge out of the way, check staightness against a straight piece of plastic, check for light between
- 48:54 shorten projection and move to super fine 8000 grit stone
35 degree somewhat hardwood angle - don't go steeper
very light
pressure ("caressing strokes") pull only
3 at center
3 halfway between left edge and center
3 just inside left edge being careful not to tip up and gouge stone
3 at halfway between center and right edge
3 just inside right edge
- 50:35 not necessary but makes it look better:
nagura
start with pressure on right and as pulling transfer pressure to left 1 stroke
start with pressure on left and as pulling transfer pressure to right 1 stroke
nagura
clean roller and remove blade
final part of sharpenings is to repeat ruler trick on
8000 grit super fine, 3 pulls to straighten burr, 10 to 15 back and forth movement 2 strokes (just off stone to 5/8" onto stone)
sponge the edge, dry it, oil it
- 53:40 resharpening a curved blade
- A2 lasts 5x as long as carbon steel, but still need to resharpen frequently
takes 4 or 5 minutes
resharpen immediately when any performance drop is notices
flatten coarse - if curved used the 5 points of pressure
how many strokes to get wire edge, will be more as honing bevel gets wider
do center first since it is most blunt, feel for edge after 3 strokes, then he did a 4th
repeat with
same number of strokes at other 4 positions
check wire edge is continuous
clean wheel and tool
- 58:25 shorten projection to 35 degrees, water and nagura on fine stone
3 strokes in each of the 5 positions
very light pressure
rock from one side to the other left to right then right to left 1 stroke each
finish with ruler trick (not for chisels) 3 strokes to ease edge then 12 to 15 back and forth
- 1:01:00 fettling the chipbreaker
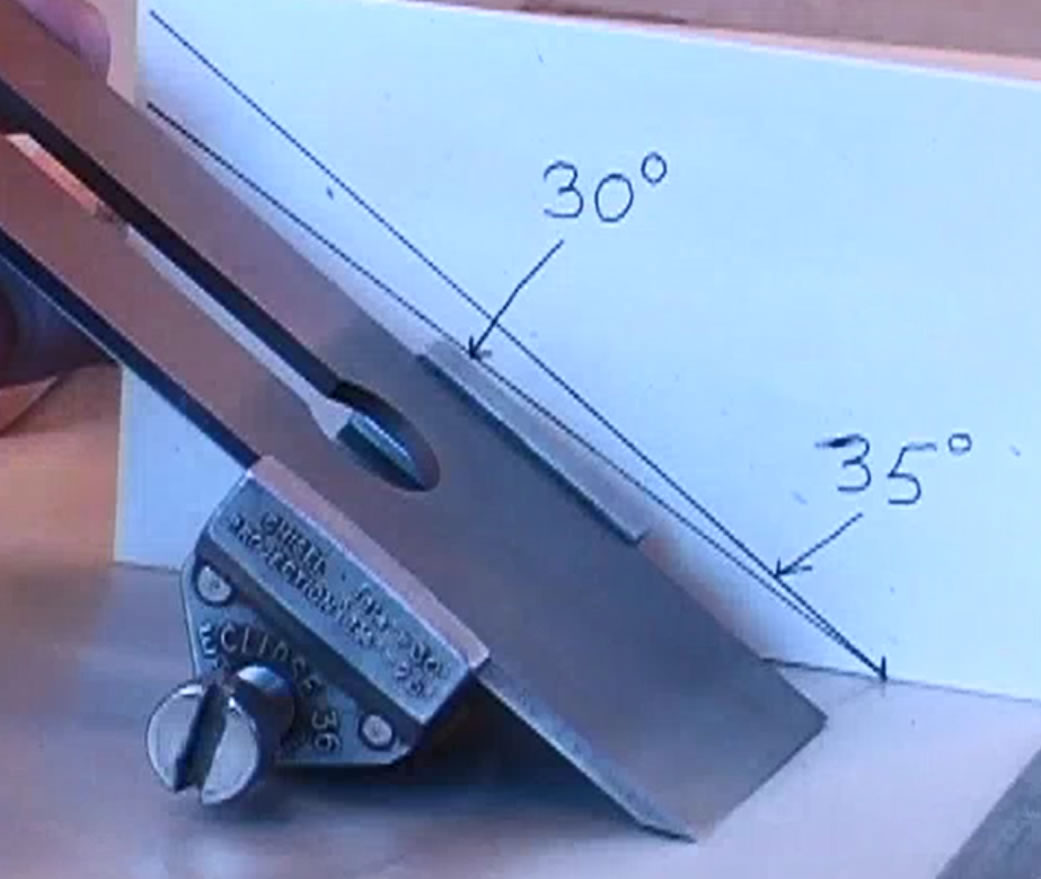
- underside must make a perfect fit, so make a tiny clearance angle maybe 1 degree
hone at 30 degrees with new high quality planes
[such as Lie-Nielsen I imagine] older stanley and record 45 degrees
hold together with light finger pressure must not be light between chipbreaker and blade
or it becomes a chiptrap
- 1:03:03
- watch this part - too much writing to describe ends at 1:11:16
- 1:11:16 putting together blade and chipbreaker and set up the plane
- 1:13:05 site down length of sole looking at white paper
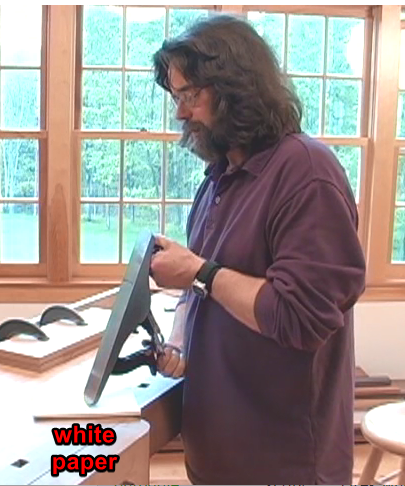
- 1:15:10 always end blade depth on out, so to decrease you need to decrease too far then extend out again
- 1:16:00 each adjustment is 3 or 4 minutes on the clock
- 1:17:06 the end
last updated:
Sun 2024-03-10 7:59 AM


