Charlesworth Chisel Sharpening
Charlesworth Chisel Sharpening DVD
- 5:15 Preparing a new chisel's back -
DO NOT USE THE RULER TRICK
he starts with 800 grit water stone that he calls "coarse"
- 8:05 flatten the stone on granite with 240 grit wet dry sandpaper held down with water surface tenion
draw pencil grid, use back and forth motion not going outside of sandpaper until all pencil lines are gone
rinse stone in bucket of water
- 10:30 chisel positioned across stone, most downward pressure on heel (top) of bevel with thumb at edge of stone as entire bevel is hanging off stone.
- 10:57 right thumb and forefinger in center of chisel and right pinky wrapped a little under handle0
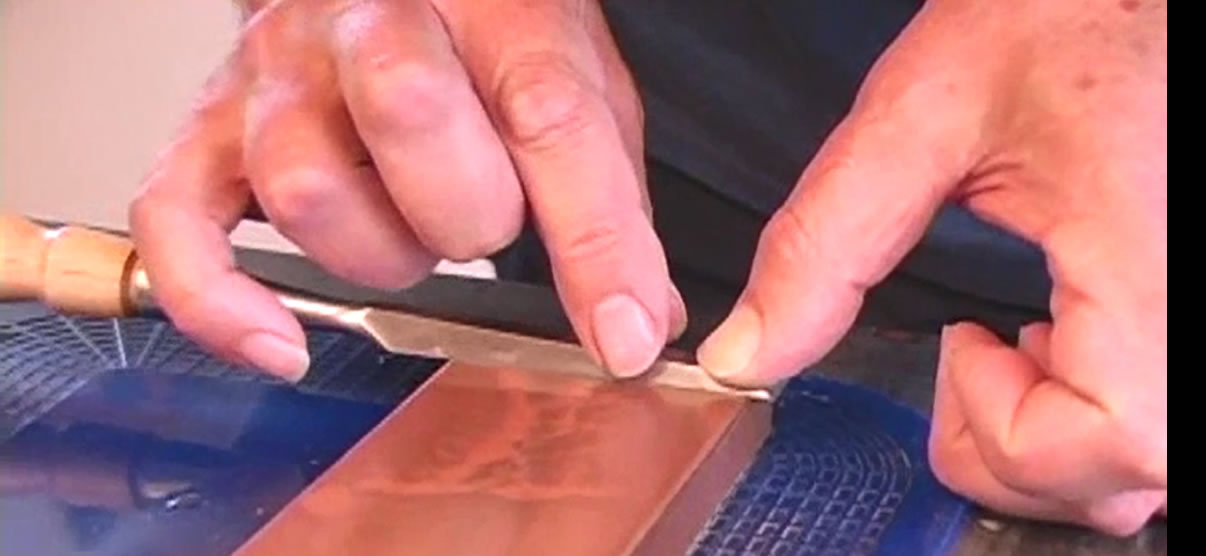
- "lengthwise stroke aka movement 1" (later he says only for chisels > 1/4" wide) only use 1/3ish of stone so it doesn't rock as it would if using much of the stone; as pushing and pulling, let chisel drift left and right
tip off for 50% of the strokes
.
- 13:10 do about 50 strokes then look to see manufacturer's scratch marks have been replaced; 13:40 if scratches are not gone, turn stone 180 degrees and mark new 1/3 line, do another 50 strokes. 15:00 put new grid on stone and flatten it again on 240 grit on granite
- 17:00 examining stone partially flattened shows low spots; stone is now convext across the width.
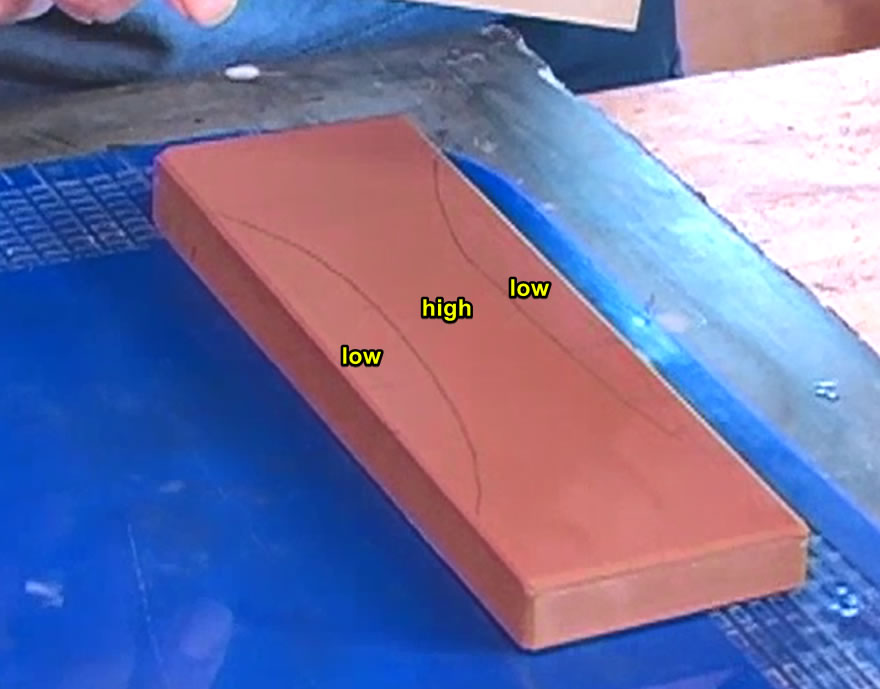
This promotes a very slight hollowness along the length of the back of the chisel, which is desireable so when we go to 8000 grit the tip and one other area will be the only areas touching guaranteeing that the tip touches the stone.
- 18:50 the low spot at the edge on a plane blade or wide Japanese chisel would cause a belly and this would be undesirable.
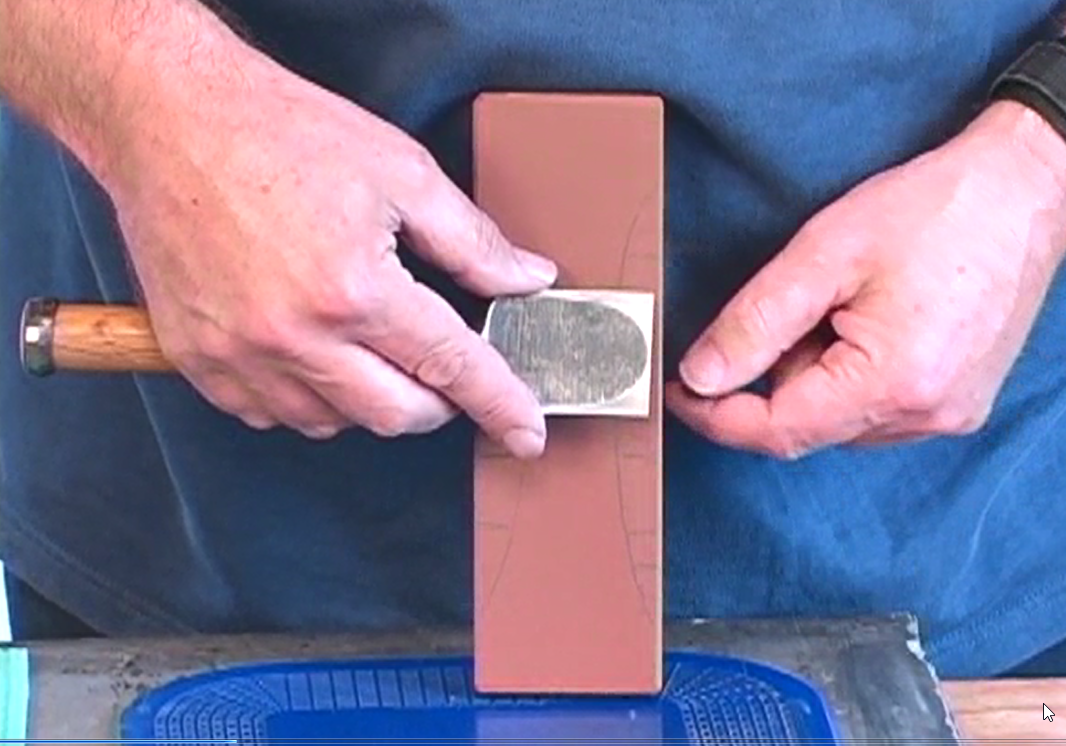
- 18:55 Movement 2 after finishin flattening stone 19:29 hand positions most of the movement is across the stone while slowly moving end to end on the stone. Start with bevel off stone. About 40 back and forth to get to end of stone, then another 40 to return to original position.
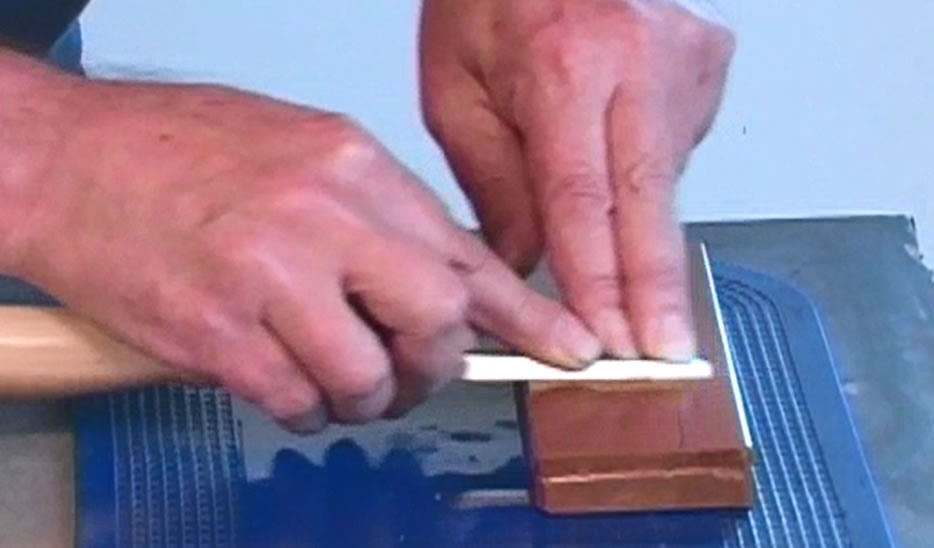
- 21:25 scratch pattern discussion and how to avoid belly in the chisel
- 21:50 rotate stone and repeat, then flatten stone
- 23:20 movement 1 on medium stone (he uses 1200); continue until last scratch pattern is replaced
- 25:00 the two movement avoid any hollowing of the waterstone which is bad for the back of the tool and is commonly found on used tools
26:05 this step is much quicker than the last one
- 26:20 why he likes his way because ending on movement two leaves serations that are better than scratches parallel to the edge which may fail and round tool
- 27:20 movement 2 on medium stone, then rotate stone 180 degrees and repeat
- 28:00 super fine 8000 grit movement 1; change paper on granite stone, pencil grid on stone
- 28:30 don't use waterstone for more than 3 or 4 minutes without flattening it
- 29:32 after flattening then rinse and feel surface to make sure no
loose grit from sandpaper
- 30:00 flatten nargura then make slurry on fine stone;
use only movement 2 on the fine stone
- 31:30 less pressure than with other 2 stones; edge is off the stone 50% of the time
- 32:25 rotate fine stone 180 degrees and repeat; don't worry about getting a perfect mirrored surface on the back of the stone.
- 33:40 diamond paste can be used to get mirror polish but he doesn't think necessary with A2 steel, can be useful for Japanese chisel carbon steel
- 34:00 flatten fine stone, rinse and do movement 2 again down and back i guess, hard to say how far he went
- 34:50 for chisels 1/4" wide or less, on all stones don't use movement 1 because they can rock with movement 1 and make a belly across the width
- 36:00 at the end of back flattening, take a fine slipstone at 45 degrees to the face and remove the extreme sharpness from handle end to 1/4" from tip (so it can still be used to clean into a corner) that can cut hand when parring
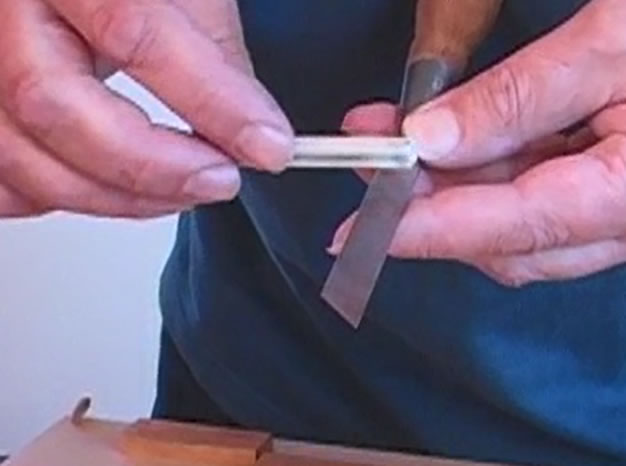
- 37:50 triple bevel; primary bevel has traditionally been 30 degrees but varies. In a very hard abrasive wood like cocobolo or ebony, a steeper honing angle is required or the edge will chip too easily. For soft pine, a lower honing angle is lower such as 25 or maybe even 20.
- His system grind at 25 degrees, first microbevel at 33 degrees with 800 Coarse Grit because he has a chopping chisel that is meant to be hit with a hammer; finally he does 35 degree with 8000 grit
- 42:30 put in guide, set projection and hone on coarse 800 stone holding stone like this
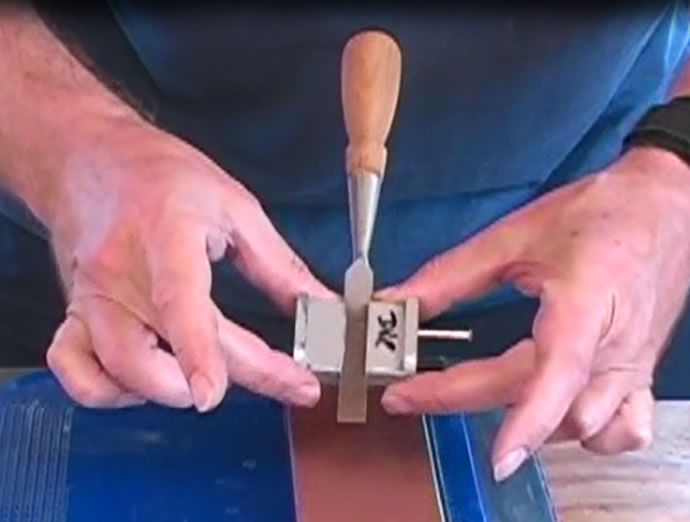
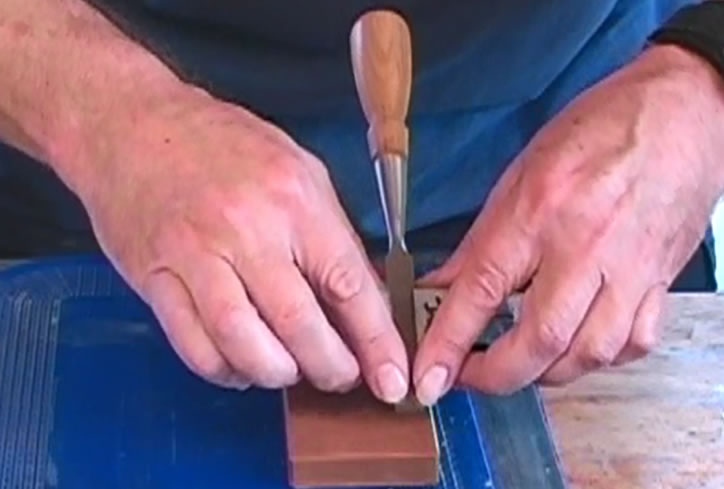
- 43:11 apply presure at end, no pressure on wheel; use pull strokes, he made 4 strokes moving across the stone the going back to the left. Look & feel for a wire edge
- 44:35 clean tool and wheel, then change projection by RAISING TOOL / SHORTENING PROJECTION 2 degrees. Move to freshly flattened super fine stone, then nagura. He always does much gentler pressure and makes 4 strokes.
- 46:30 final step is make movement 2 to polish off wire edge. Drag onto stone 3 times to extend burr, then 12 to 15 back and forth strokes movement 2; dry it, put oil on it
- 48:20 usually 7 to 8 sharpenings, time to re-establish primary bevel; this is because 2-3 strokes to get wire edge on first sharpening 4-5 on second 6-7 on third, etc. up to 16 or 18 strokes and that takes too long
- 49:50 don't need grinder, can use coarse stone to establish primary bevel it just takes longer
- 50:45 if there are no chips, don't regrind all they way, leave a minute sliver to retain square edge
- 52:20 how to re-establish square edge with 800 grit coarse stone and honing guide using more finger pressure
on one side
- 53:45 with narrow wheel honing guide use more finger pressure on one side to get back to 90; take sharpie and mark entire bevel
- 57:10 summary of his angle selections work backwards from superfine angle to find angle to grind at (which of course occurs first)
step 1, what angle do I want to do super fine sharpening at? determined by type of work and species of wood
step 2 coarse stone work is always done at 2 degrees less than super fine
step 3 grinding starts the process, generally 7 degrees less than coarse stone.
- 57:45 waterstone info
| brand |
coarse |
medim/fine (not used in plane sharpening) |
super fine |
| king |
800 |
1200 |
8000 |
| norton |
1000 |
4000 |
8000 |
- 59:55 diamond paste is usually not necessary
- 1:01:22 use folding wedges to hold stone in place
- 1:01:37 using board like I made with stops for projections
- 1:02:07 for third bevel on super fine stone using stop with shim to get final projection
last updated:
Sat 2023-02-25 8:55 AM


